From wood and hot glue to BlooglyBlob: an engineering experiment with Codex and Astra
A family craft project becomes a 3D-printed robot character, with Codex and Astra helping across design, electronics, software, printing, and documentation.
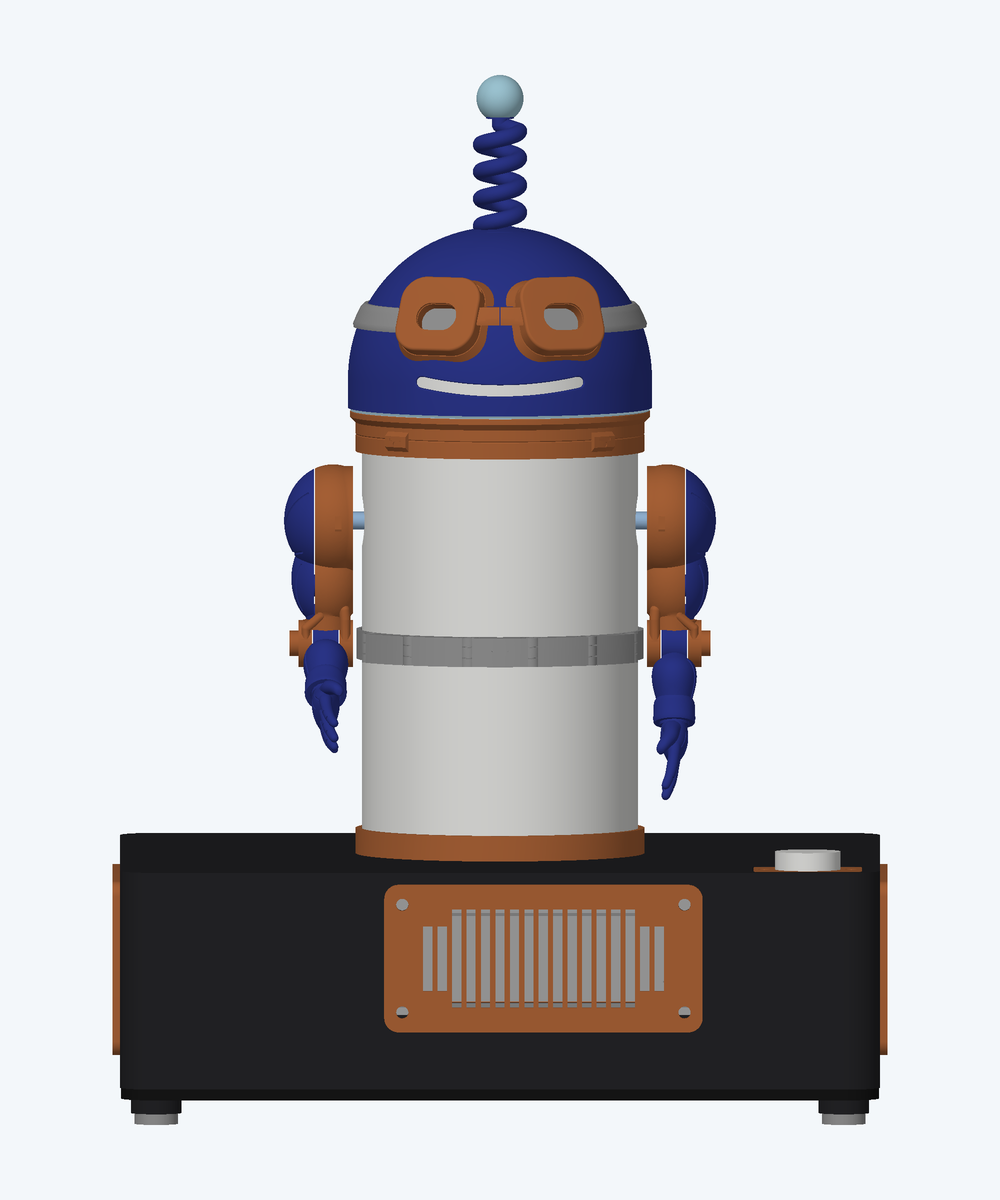
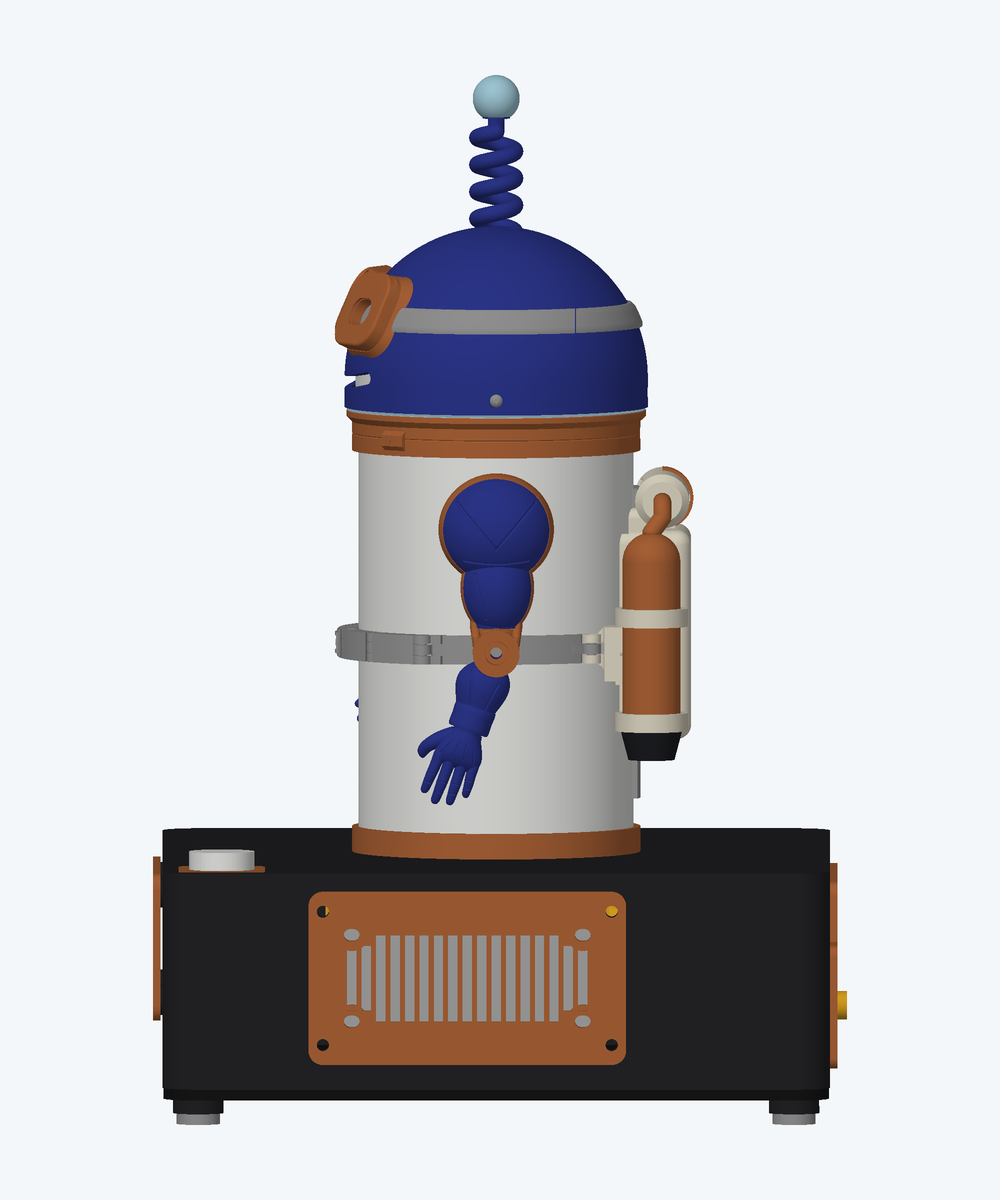
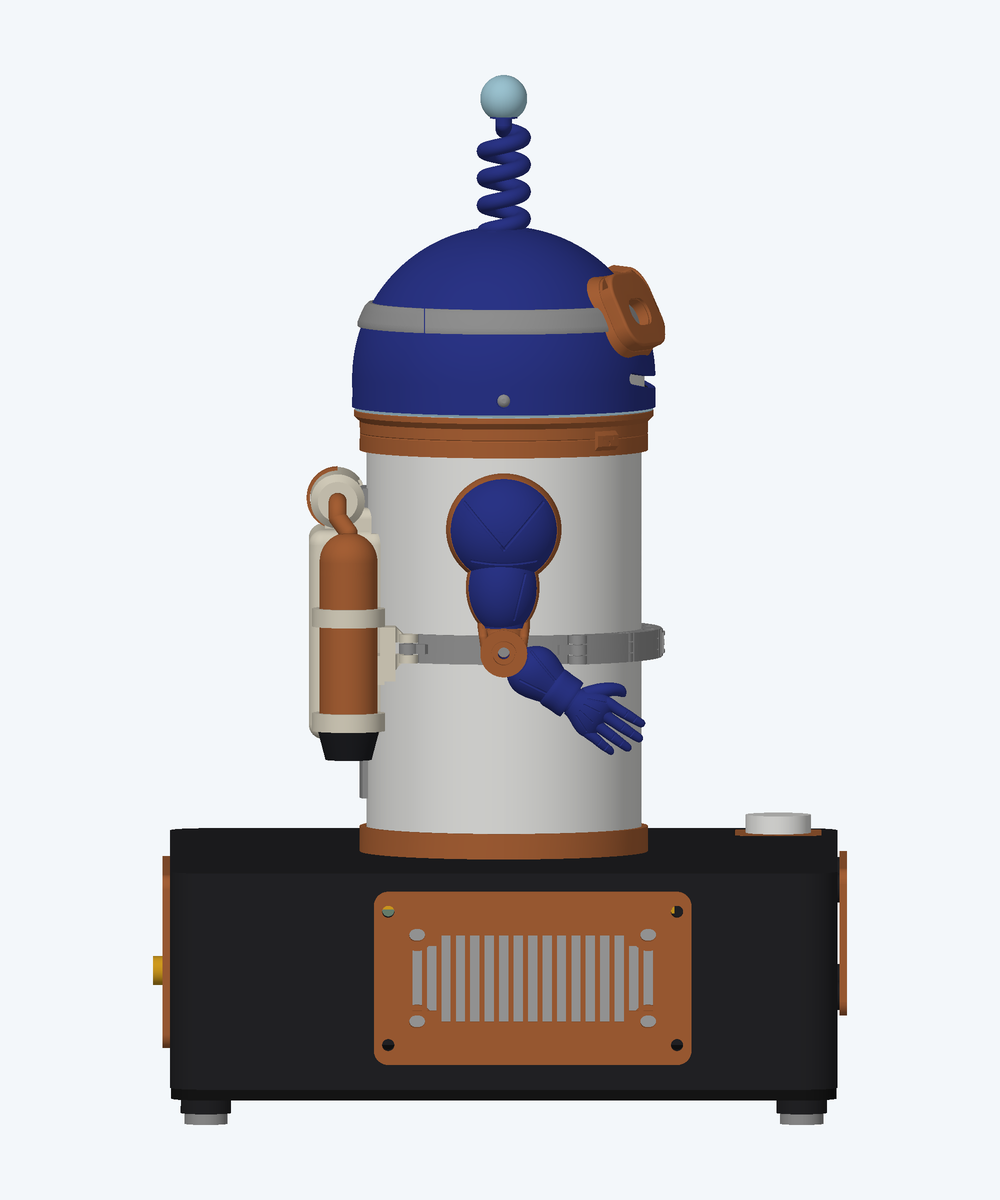
Meet BlooglyBlob, a small, 3D-printed interactive robot character. He’s a project that mixes art, engineering, and AI. His head and arms move, and RGB lights illuminate his eyes, mouth, and body. Press his button to start a full-duplex voice conversation through OpenAI’s Live API, which lets him listen and speak at the same time. He even has his own little theme song, generated with AI using ElevenLabs, with a dance and light show to go with it.
A craft project with the kids
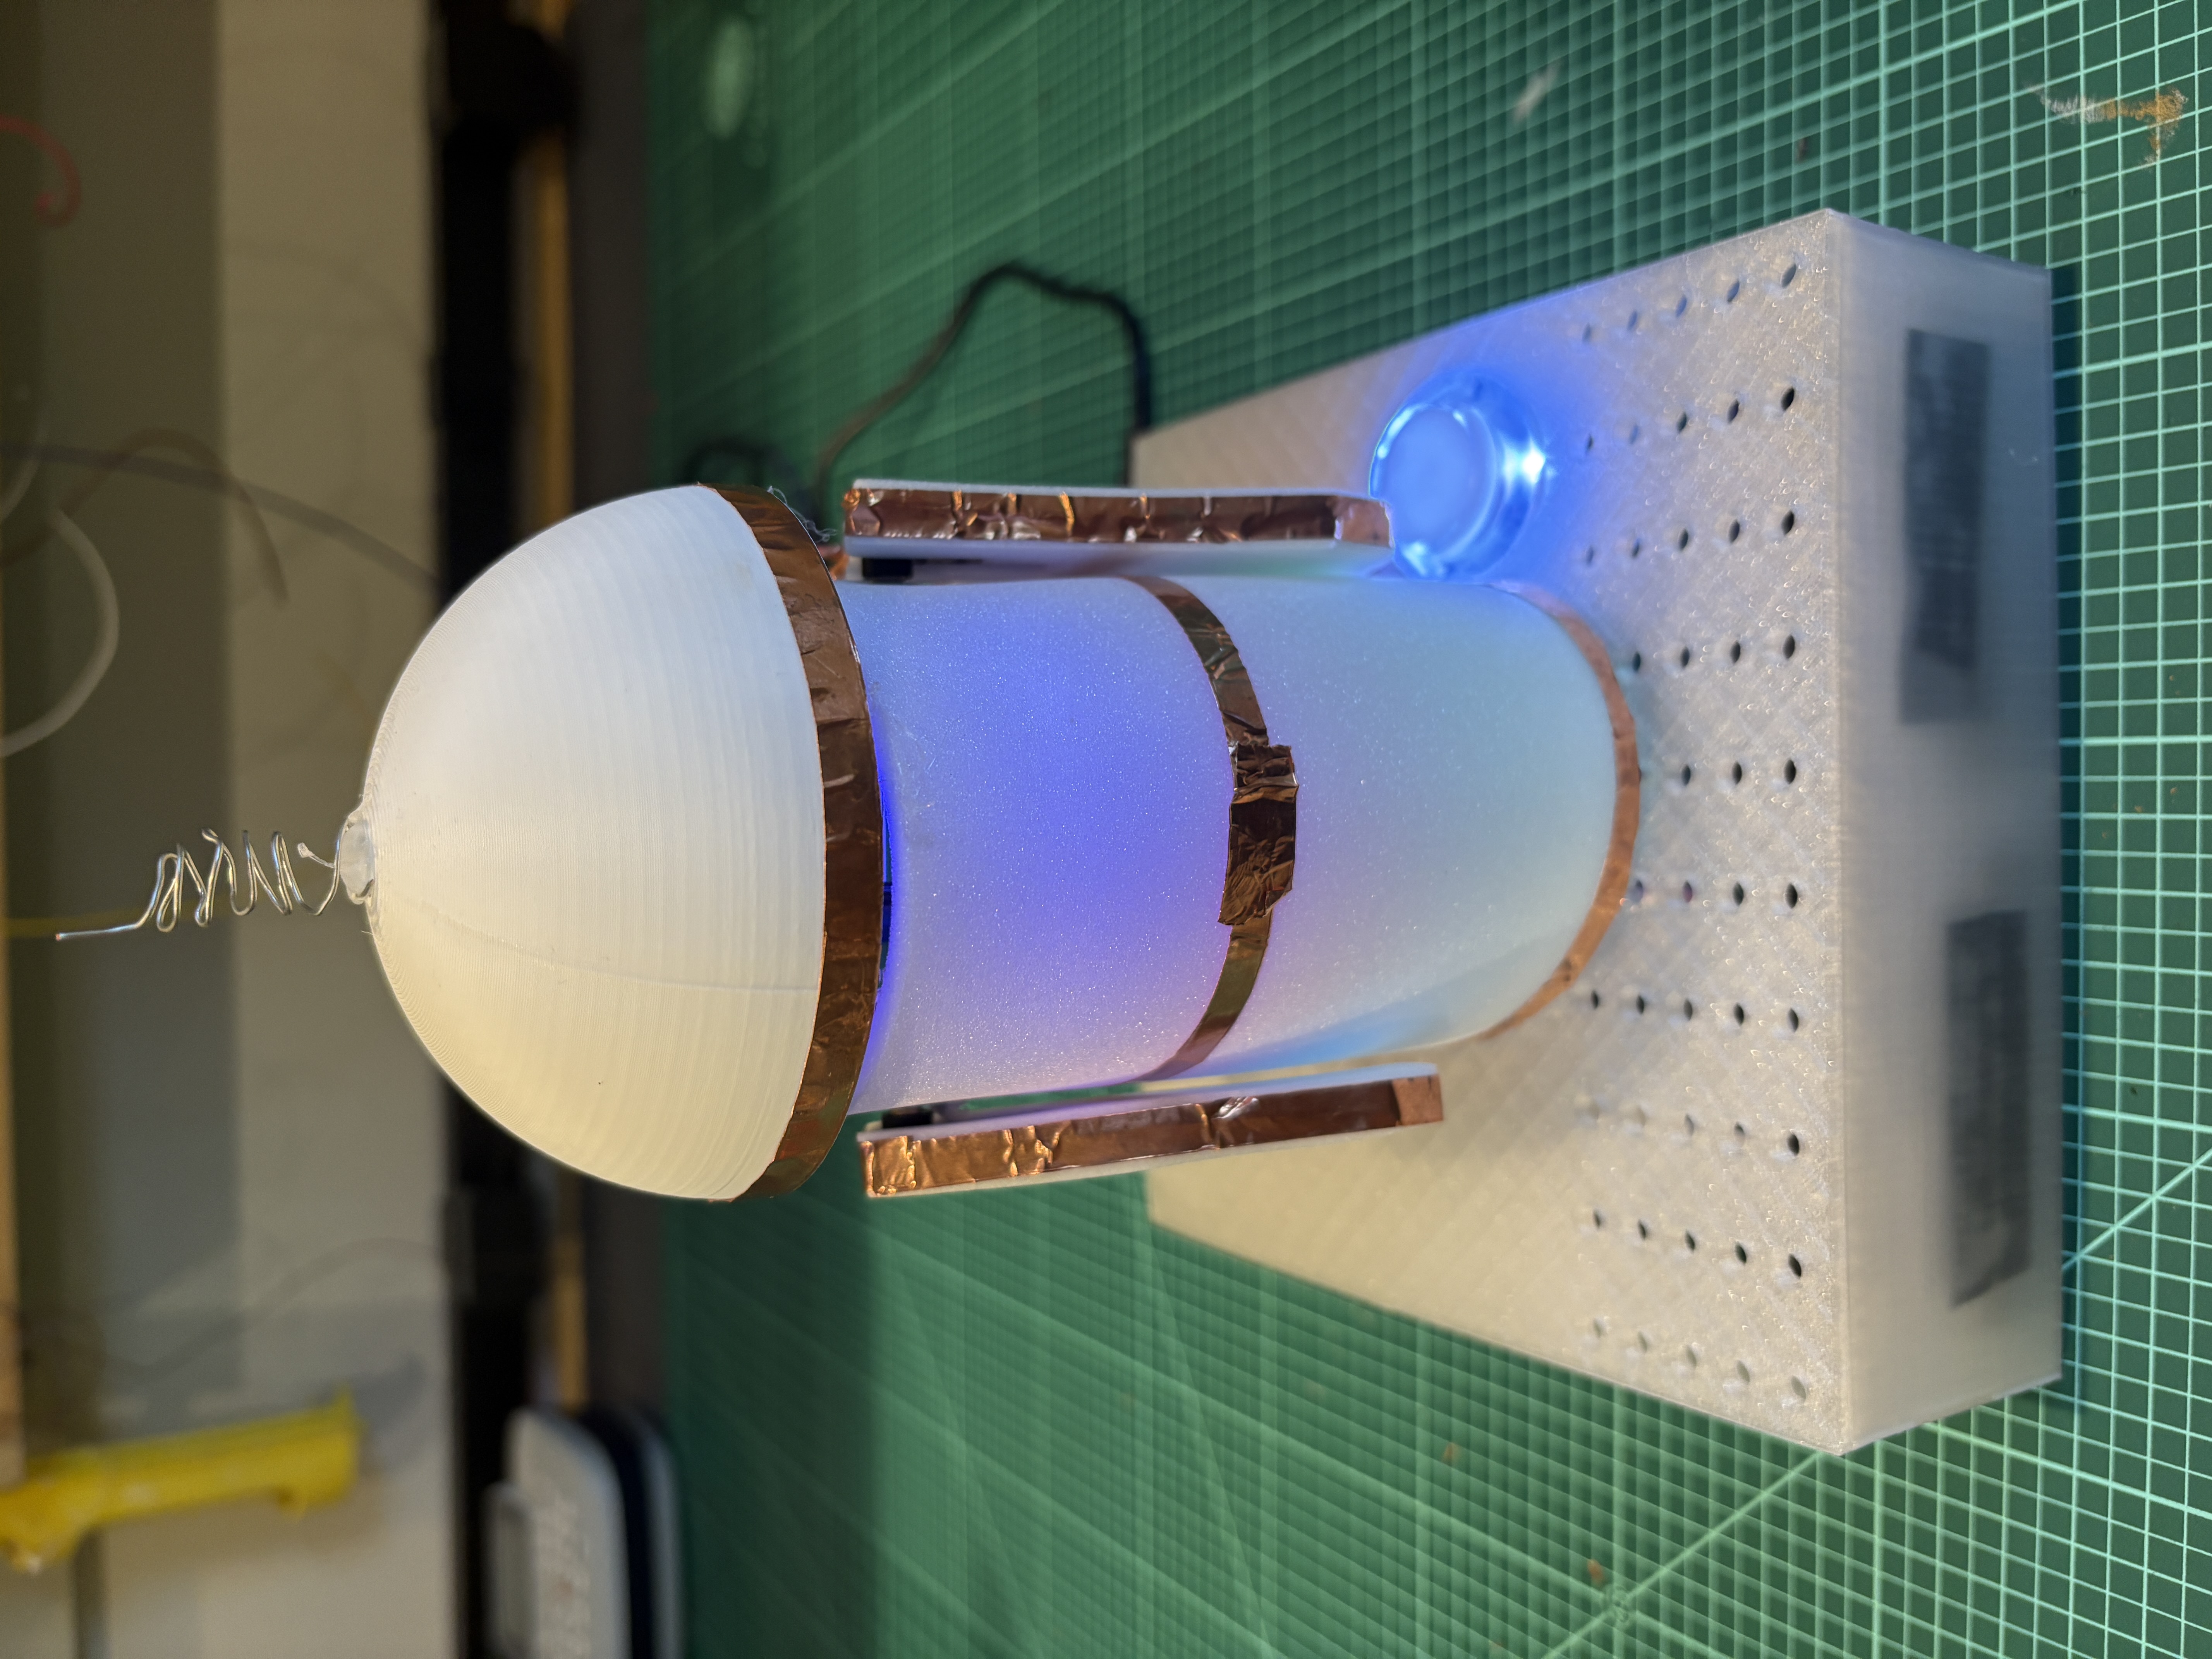
BlooglyBlob started as a craft project with my kids, and my eldest son came up with the name. We built that first version with wood, hot glue, and three servos mounted on a wooden post. That craft project established his basic shape and the first working version of the software, which used ElevenLabs’ voice API.
We made his body out of white Plastazote foam, often used to diffuse LED light in cosplay costumes and props. It helps soften the individual points of light into a more even glow.
When OpenAI released its Astra model, I was intrigued by its visual and spatial reasoning and its ability to operate software through computer use. OpenAI's 3D design examples showed it creating editable models, inspecting renders, and correcting problems with the geometry.
BlooglyBlob felt like a good way to explore how those capabilities could support a small, interactive art project from start to finish. Could Astra work through the 3D design, help turn it into printable parts, refine the electronics and software, and document the build so someone else could try it? I set out to find out, giving myself a couple of weeks to see how far I could get with Codex and Astra.
My kids helped with the new build, too, and had a say in how the upgraded BlooglyBlob would look.
A closer look
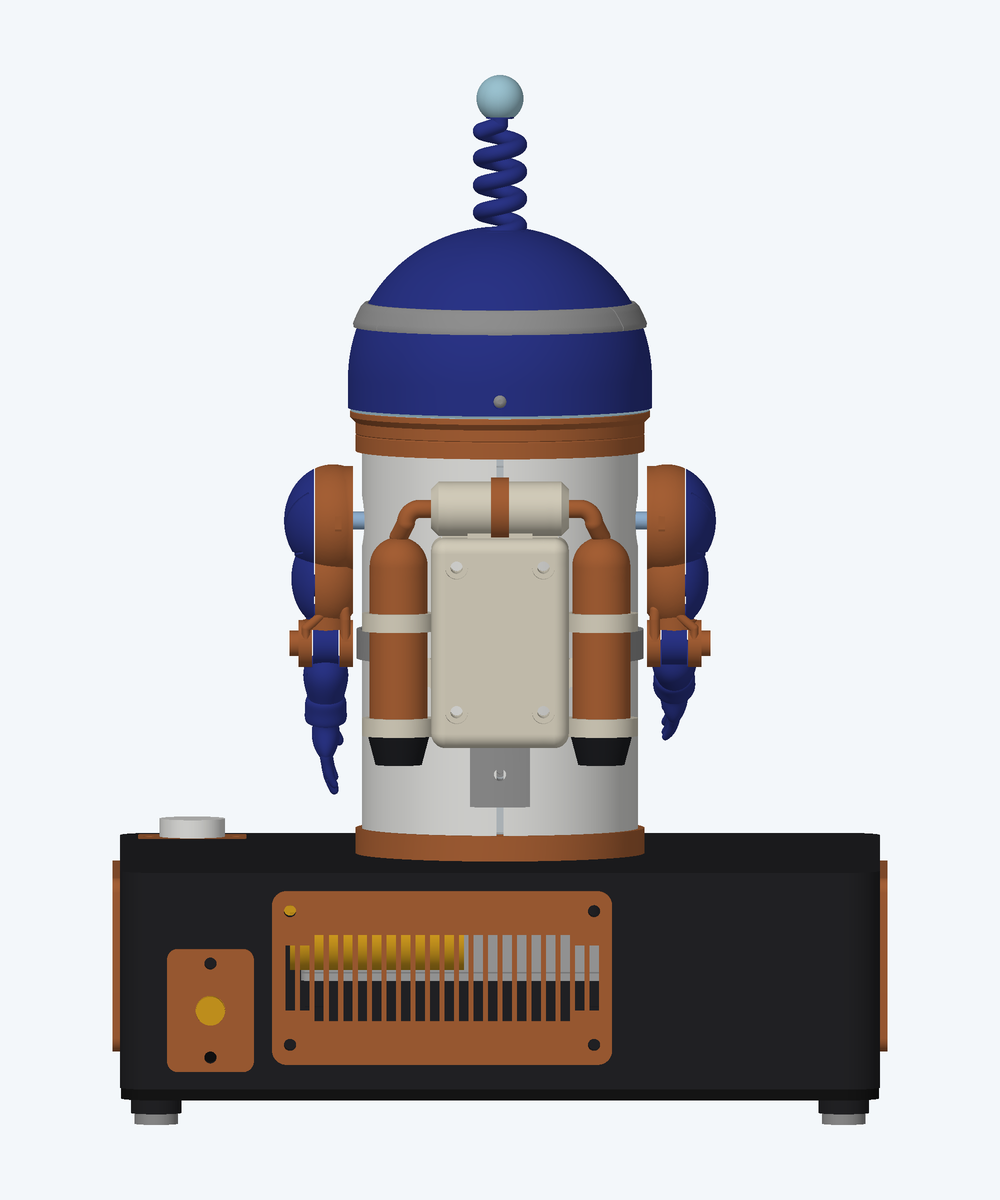
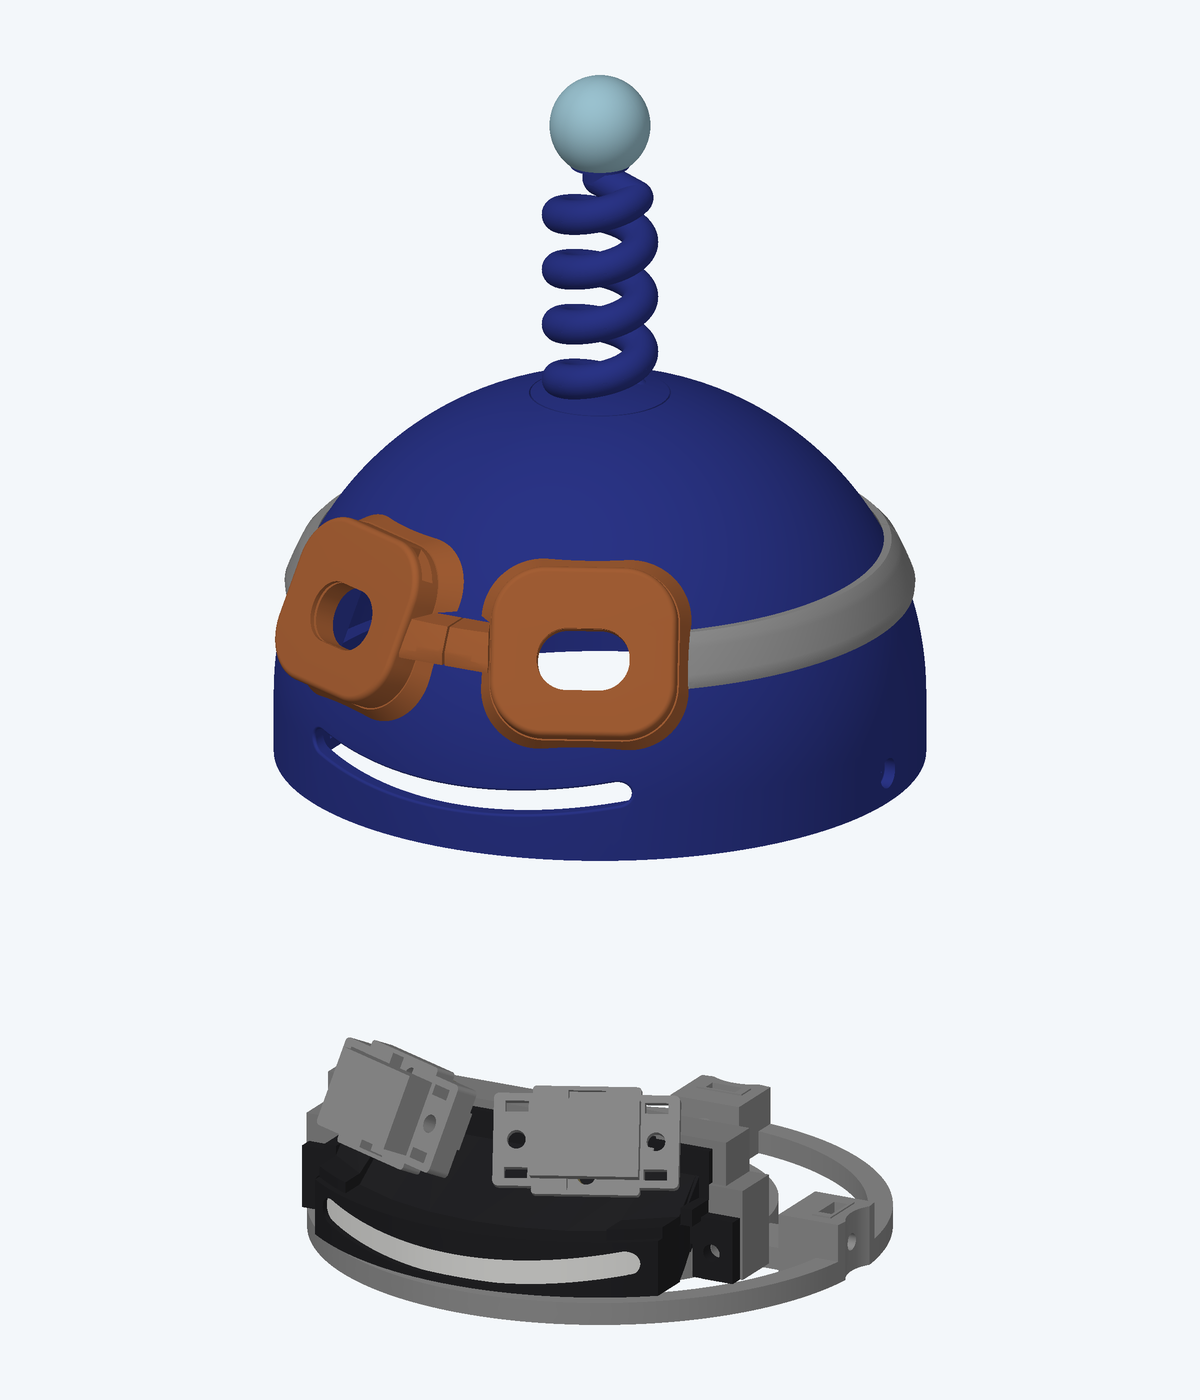
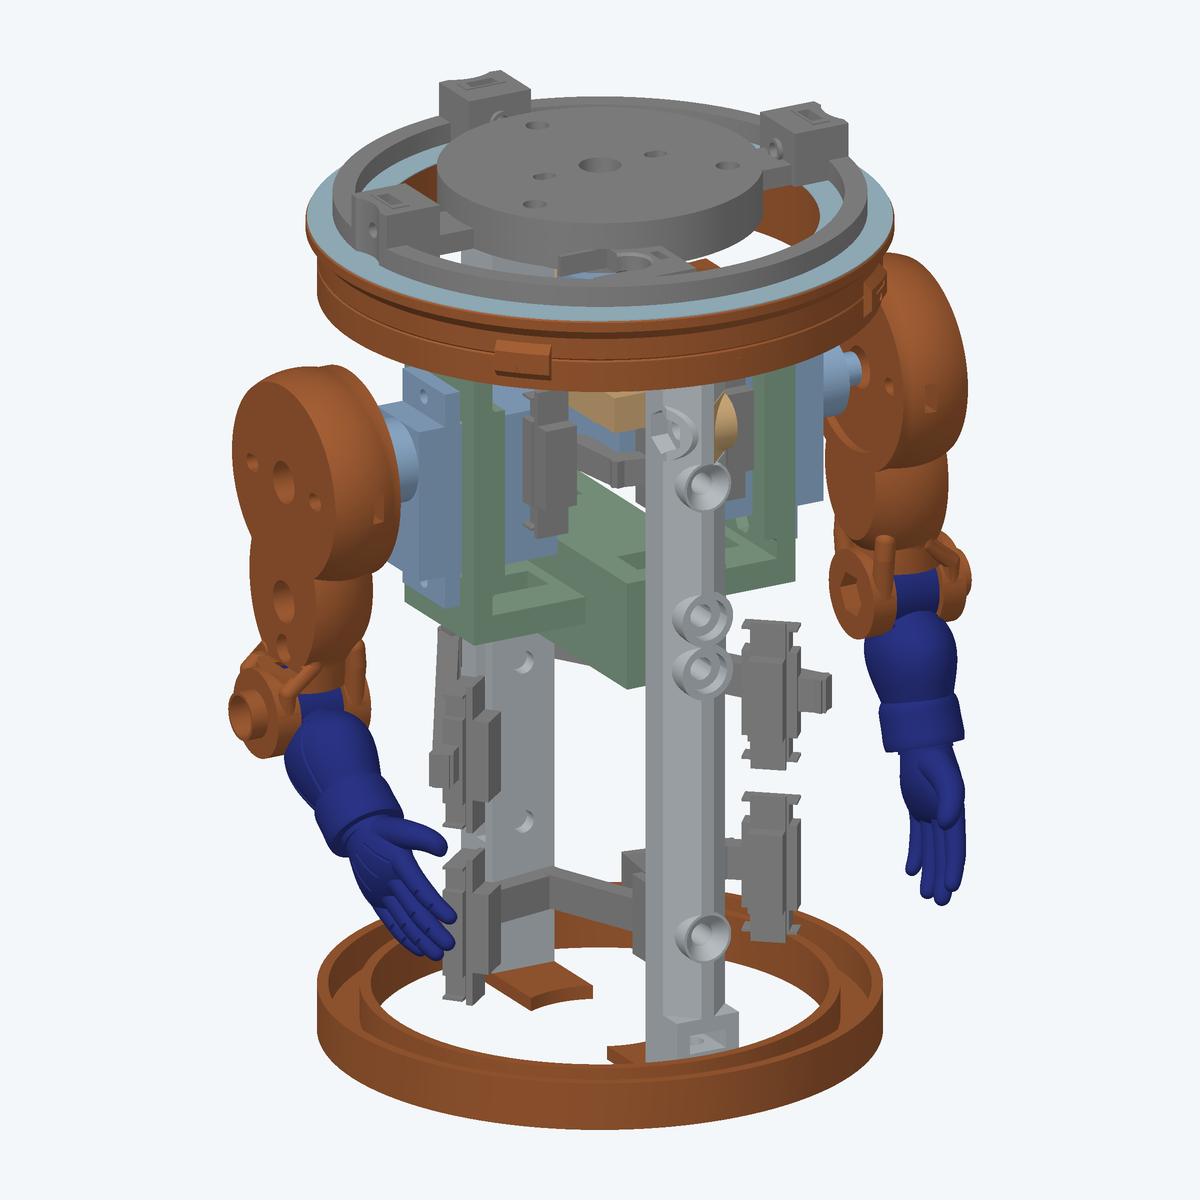
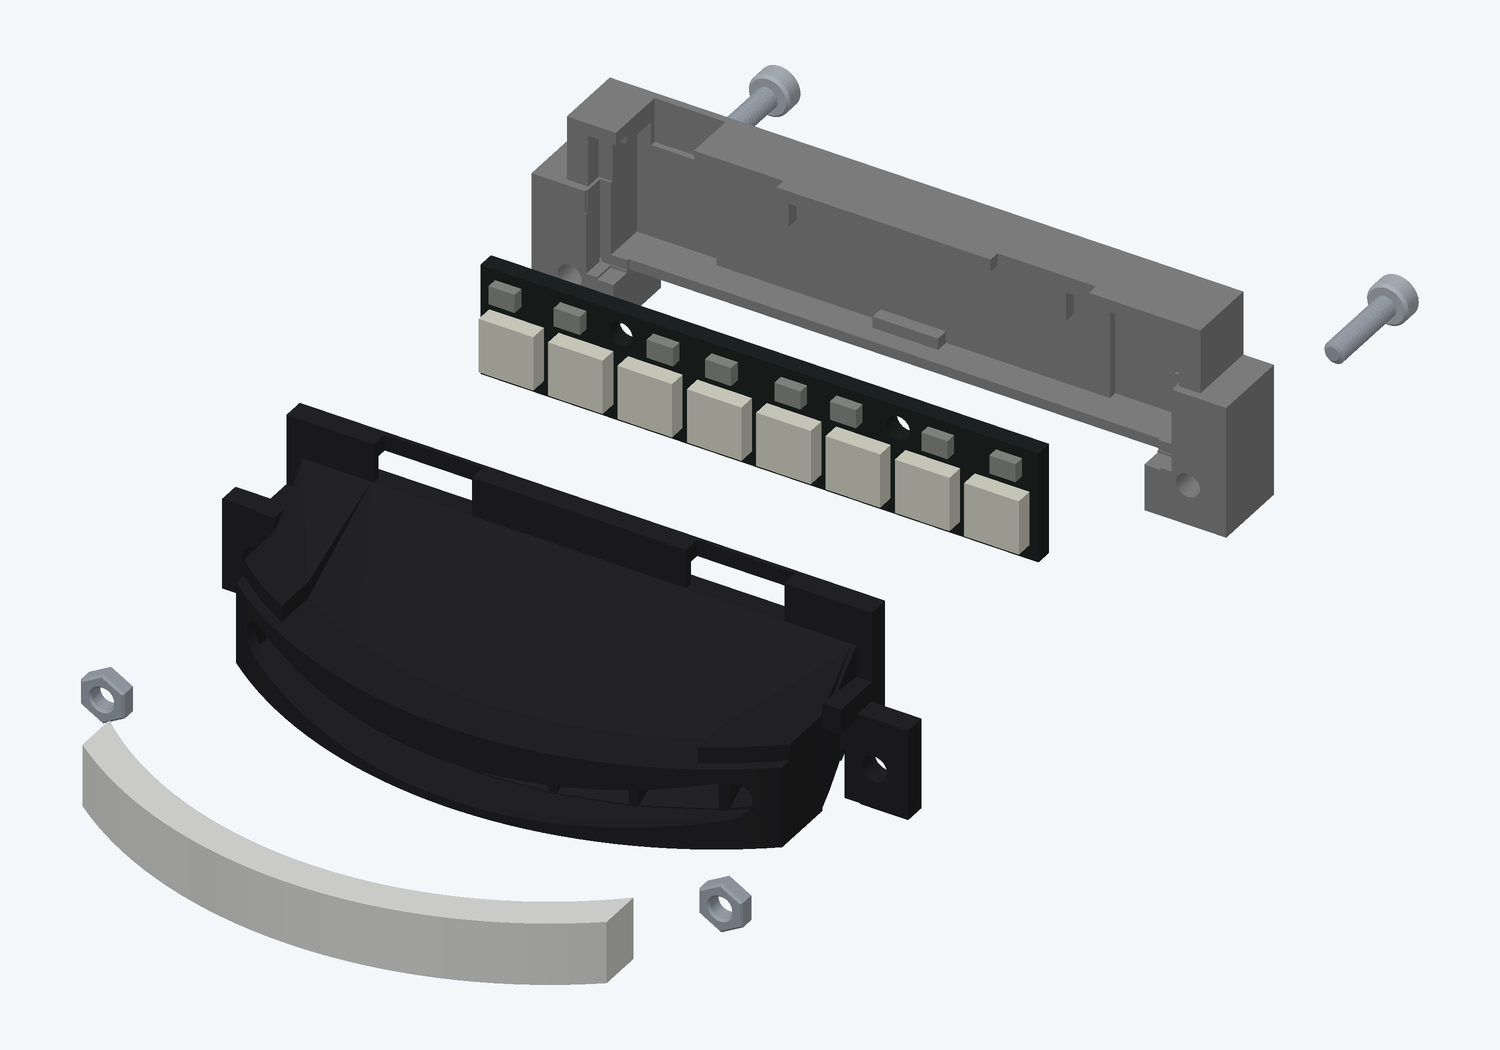
AI across the workbench
OpenAI’s Codex agent, using Astra, helped with component selection, wiring design, mechanical design, software, testing, and assembly instructions.
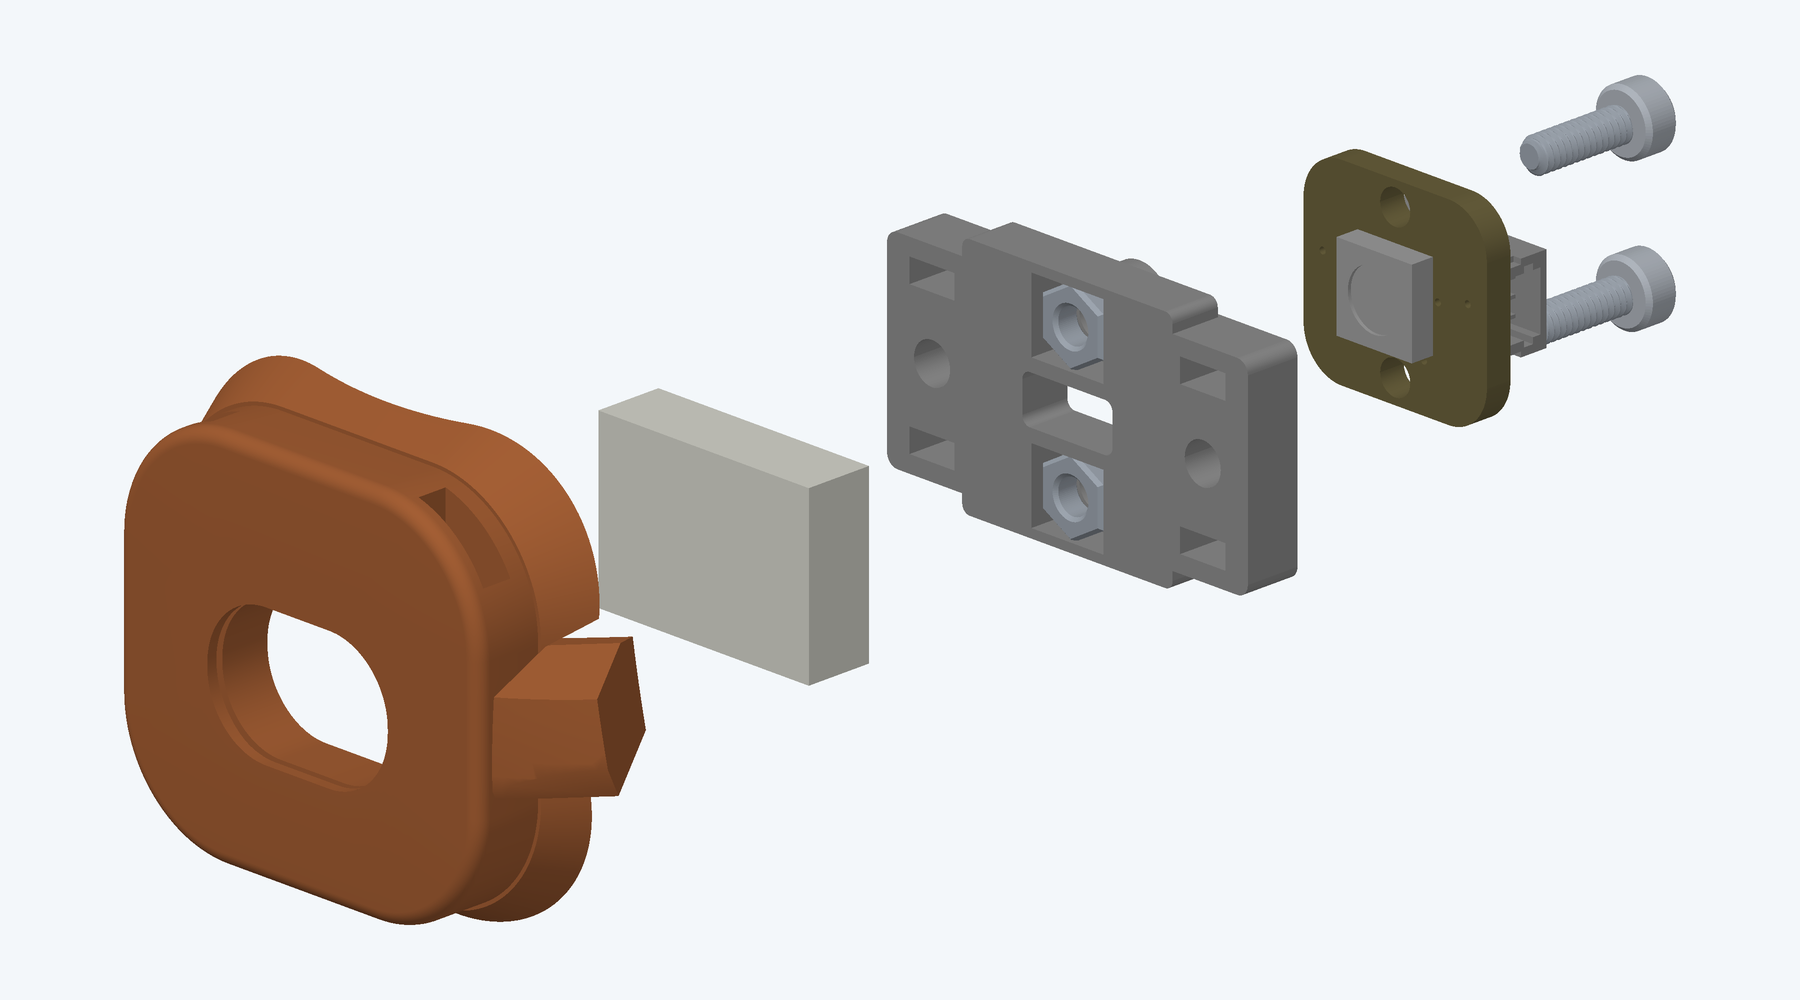
Fusion 360 is Autodesk’s CAD tool for designing parts and assemblies. It has a built-in MCP server that let Codex work directly with the 3D model. For printing, we used Bambu Studio, software for preparing 3D models and slicing them into instructions for a 3D printer. Codex wrote Python scripts to prepare and update its editable print projects, saved as 3MF files. These bring together the parts to print and their printing settings, including part placement, support blockers, filament profiles, and per-part settings such as layer height, walls, and infill.
Codex then ran Bambu Studio’s slicer from the command line to generate the printer’s layer-by-layer instructions. It used custom scripts and Bambu Studio’s visual previews to check the result, including whether supports blocked openings or parts extended beyond the print bed. Computer use also let Codex operate Bambu Studio’s desktop interface and check printer and filament selections before printing.
What surprised me was how little I interacted with Bambu Studio myself. Most of the time, I simply talked with the agent: asking it to prepare a print, confirming the filament and that the bed was clear, and giving it the go-ahead to start. It felt a little like working with JARVIS from Iron Man: talking through a build while an assistant operated the tools. I still handled the printer and physical testing.
Some aspects of the design took many iterations. The front post and light brackets had to let the body glow evenly, avoid distracting shadows, and leave room to route the NeoPixel Pebble LED strand, a string of small, individually controllable color LEDs. Codex wrote a light-spread simulation using the CAD geometry to compare possible layouts and help choose what to try next.
There was no substitute for printing the parts, assembling them, and looking at the actual lighting. Human judgment mattered throughout: did the glow look right, did the design suit the character, and could the parts be assembled without unnecessary frustration? The analysis helped, but those decisions came from handling and seeing the physical robot.
The software needed the same kind of iteration. We tried different head and arm movements and LED patterns, watching him in action and judging what felt natural and suited his personality.
Keeping everything in sync
The repository also contains persistent instructions for Codex, including rules for changing the CAD design, preparing print files, and writing and illustrating the build guide. These give the agent project-specific guidance to follow across sessions, so each conversation doesn’t have to start from scratch.
A design change didn’t stop at the CAD model. The print files and build guide, the step-by-step instructions for printing and assembling BlooglyBlob, also needed to stay in sync. The repository records the selected version of the Fusion design and its exported STL files, which describe the 3D shape of each printable part. Automated checks in GitHub Actions compare those shapes with the parts inside the Bambu Studio projects, check part counts and print settings, and flag geometry that needs a closer look.
Automated checksDo the files and settings agree? Do the guide’s pages work?
Human reviewDo the parts fit? Do the instructions and pictures make sense?
Automated checks also use Playwright, a browser-testing tool, to open the guide’s pages and check for broken links, missing images, and layout problems. Its download links, part quantities, and printing estimates come from the maintained project data. The written instructions and illustrations still need human review when a design changes: do they show the right parts, in the right order, with enough detail to assemble them?
Inside BlooglyBlob
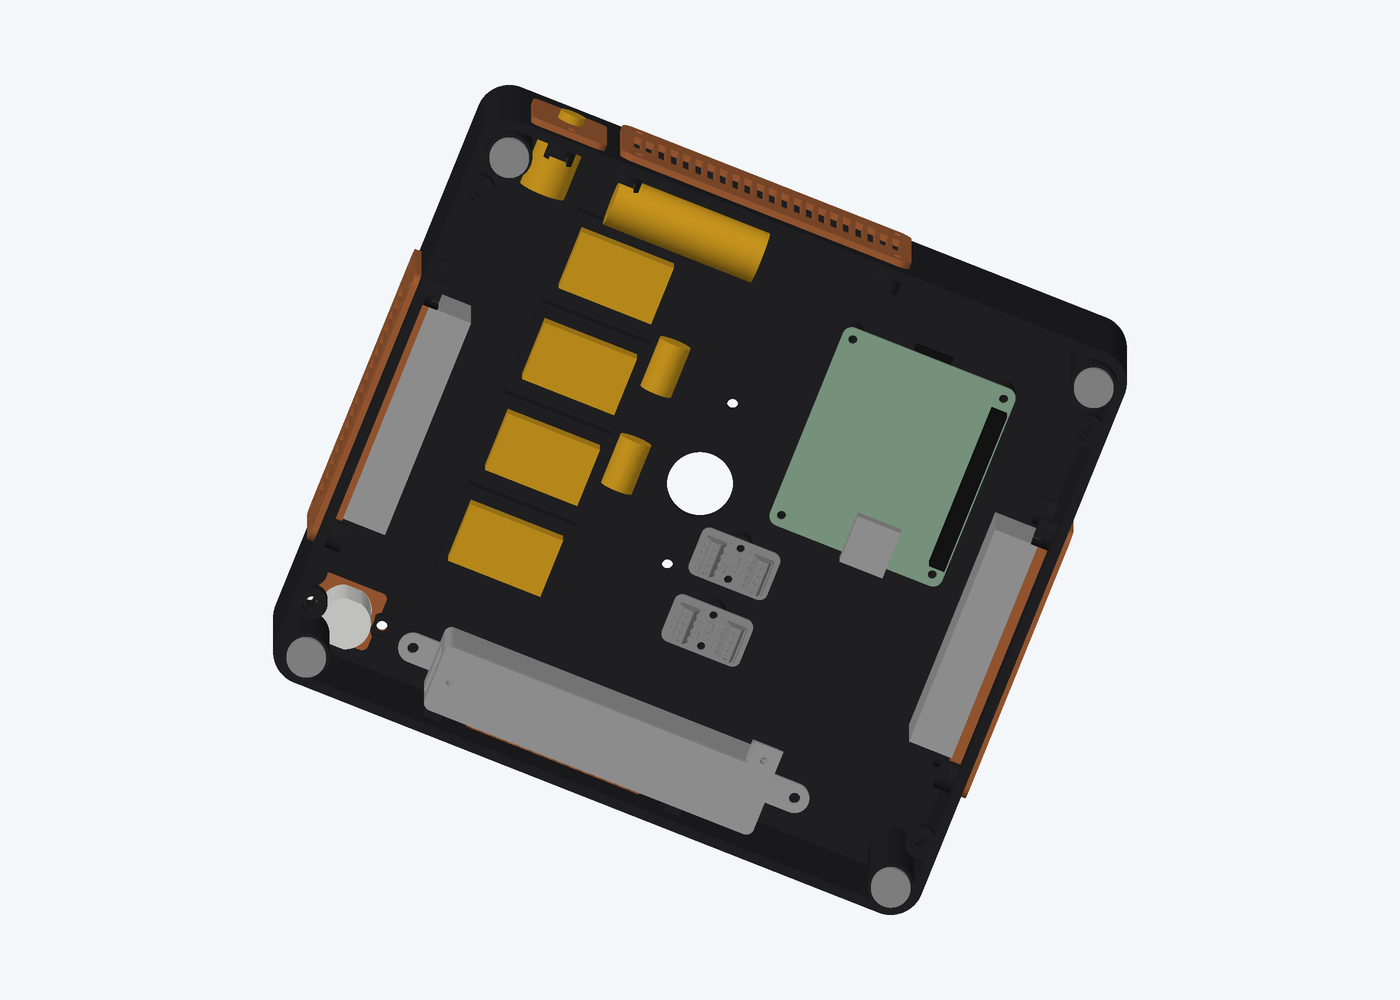
The aim was to keep assembly straightforward and costs reasonable, using off-the-shelf electronic modules, standard screws and nuts, and printed mounts. Even those parts add up, though.
I also aimed to make individual parts easy to replace, and to leave room for redesigns and variations. Lever connectors and removable plugs make the wiring easier to assemble and service, although some soldering is still required.
A Raspberry Pi 3 Model A+, a small single-board computer, runs the Python software that coordinates BlooglyBlob’s voice, movement, and lighting. Three servo motors move his head and arms.
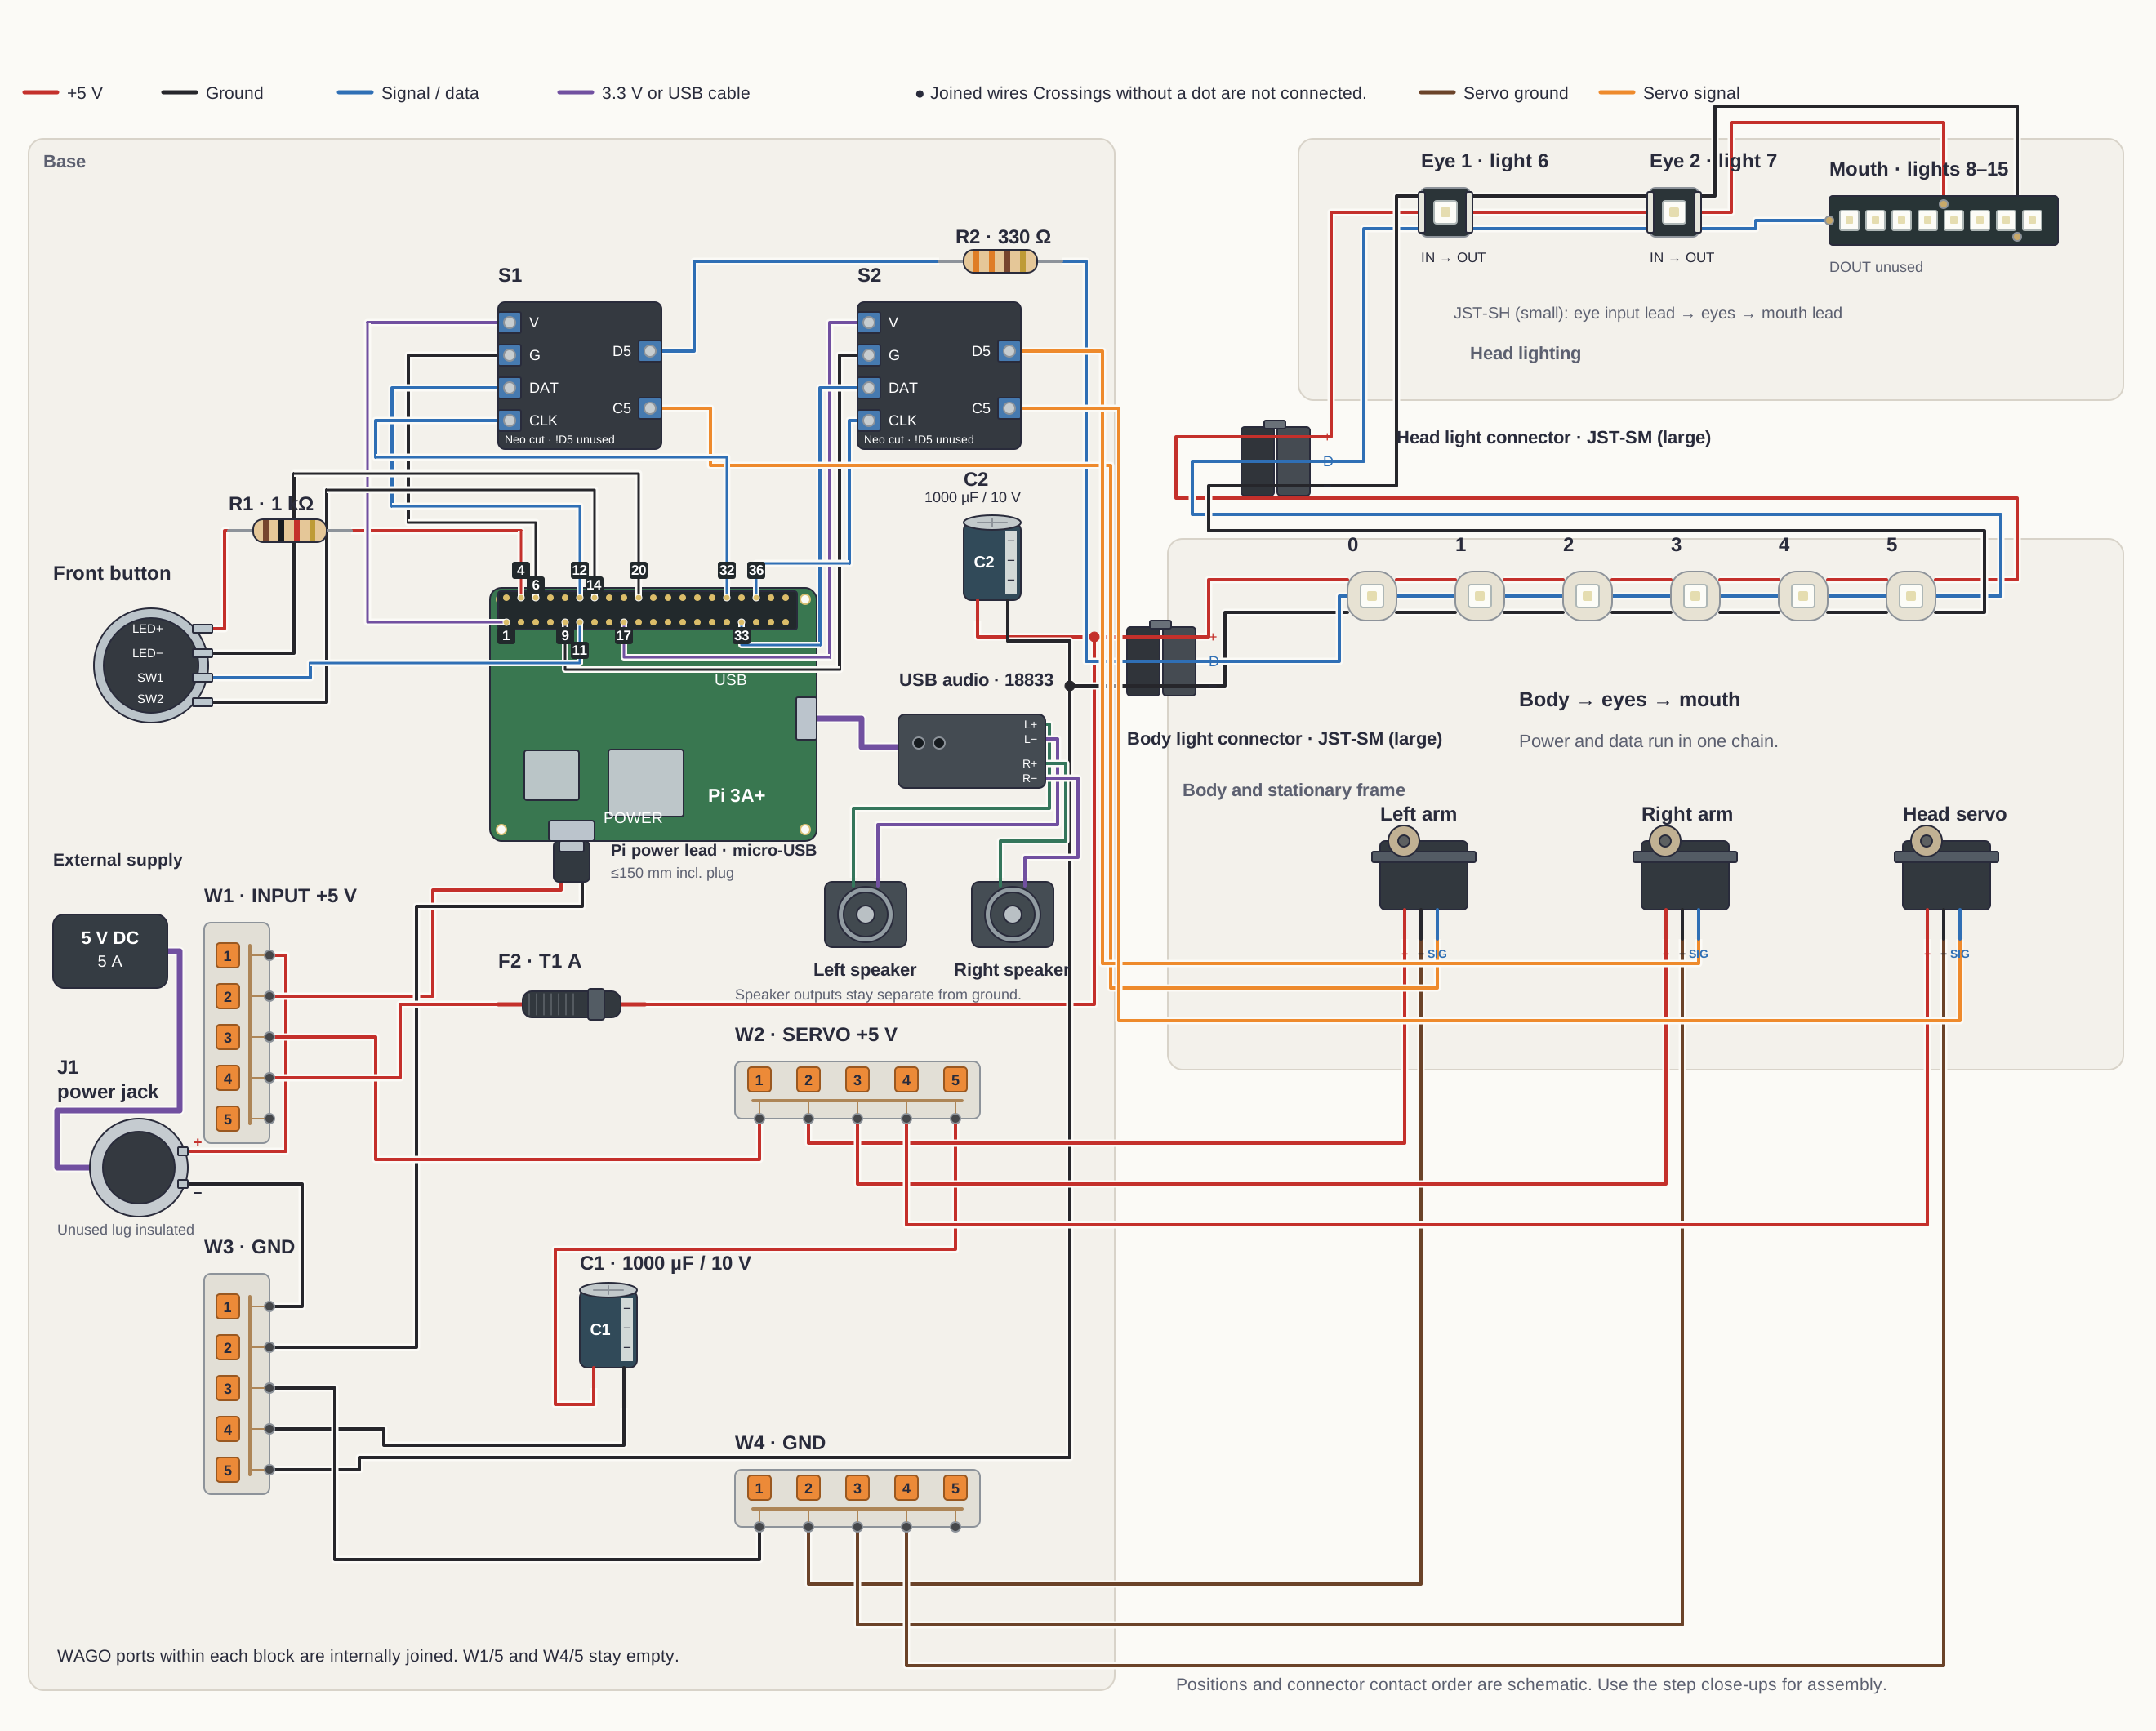
His lighting uses 16 individually controllable Adafruit NeoPixel RGB LEDs: six in the body, one in each eye, and eight behind his smile. Each can display different colors, letting the software create patterns across his body and face. The button has its own separate indicator light.
A single 5 V power supply powers the electronics. Level-shifter boards translate the Pi’s control signals to the voltage levels needed by the LEDs and servos. Voice conversations use the OpenAI Live API and require an internet connection and an OpenAI API key with billing enabled.
Putting the guide to the test
A goal from the start was to write a clear guide that documented the build so someone else could reproduce it.
BlooglyBlob is now built and tested. We followed the build guide ourselves during assembly and made many corrections along the way. AI often struggled to anticipate what someone would need to see and read at each step. Assembling the parts helped us spot where a different view or clearer wording would make an instruction useful.
Codex also wrote scripts to create the guide’s wiring diagrams, cartoon-style illustrations of parts and tools, and assembly views rendered from the CAD model. These needed human review too: an accurate drawing wasn’t always the view someone needed to understand the next step.
One useful technique was to leave Granola, an AI transcription and note-taking app, running in the background during assembly, capturing our comments and frustrations with the guide. I then fed those notes into Codex to turn them into a punch list of fixes. The guide has come a long way, but there’s still plenty of room for improvement.
The code, editable CAD, STL files, and Bambu Studio projects are available alongside the build guide.
If you try building one, I would love to hear how it goes!
Some component models are from Adafruit CAD Parts, © 2016 Adafruit Industries, used under the MIT license. See project credits and licensing.